Lighting
shot.lighting(name, **kwargs) either places lights around the subject (six presets) or sets
a world environment map (hdr). Resolved at shot exit.
Use eevee or cycles to see lighting
The workbench engine ignores scene lights (it has its own studio light). Switch to
eevee (fast) or cycles (best) to judge a lighting preset.
Placed presets
| Preset | Light rig | Defaults |
|---|---|---|
rembrandt |
key front-left + rim front-right | key 350 / rim 120 |
three_point |
key + rim + back | 400 / 150 / 100 |
butterfly |
single key front-above-centre | 350 |
split |
single hard key from the left | 250 |
silhouette |
two back-rim spots, dark front | 300 |
spotlight |
single spot from above | 500 |
none |
no lights (baseline) | — |
shot.lighting("rembrandt", key_power=400)
shot.lighting("split", key_power=300)         # interrogation mood
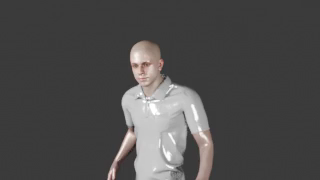
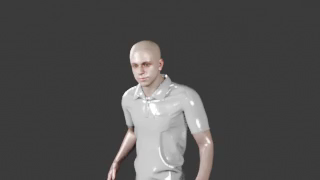
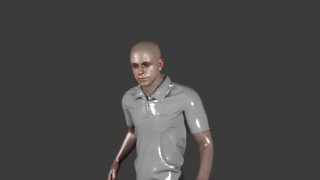
| rembrandt | three_point | butterfly |
|---|---|---|
 |
 |
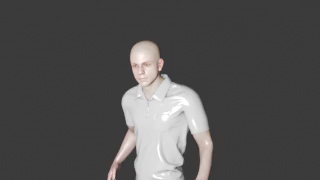 |
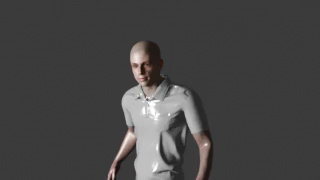
| split | silhouette | spotlight |
|---|---|---|
 |
 |
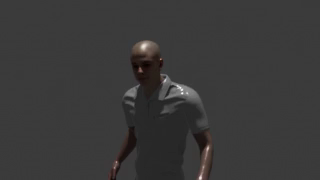 |
These are fast eevee proxies — see them in full Cycles quality
Under eevee the soft presets differ subtly; Cycles shows them dramatically — the
Gallery and the collapsible section below have the full-resolution Cycles
versions. (silhouette keeps a partly-lit front under both engines — that's the preset, not
the renderer.)
HDR environment lighting
hdr replaces placed lights with a world environment map from assets/env_lights/*.exr. The
actor is lit by the environment and the EXR shows as the backdrop. Best with cycles.
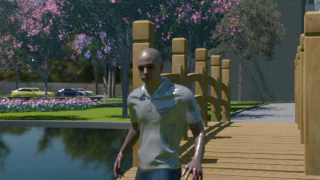
Studio vs daylight — which to use
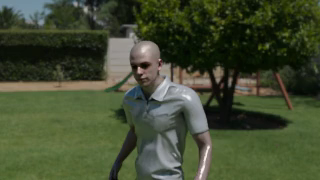
The key choice: a placed preset lights only the actor (dark surroundings); HDR lights the whole scene like daytime.
Portrait/dramatic look. If you call nothing, the shot defaults to rembrandt.
Lights the actor and the environment via a world map (this is how you brighten a dark set).
strength controls brightness (>1 = brighter); rotation turns the sun/shadow direction.
(Same shot, same actor — only the lighting call changed.)
Tip
Either way, render with eevee or cycles — workbench shows neither. This is exactly
how Scene 2 in the Gallery gets its bright daytime garden.
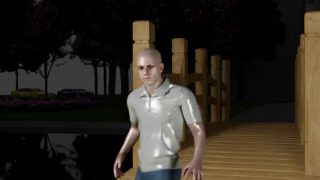
Using the set's own lighting
Some sets ship their own lights baked into the .blend — indoor sets especially (the
living_room set has ~5 ceiling lamps). You can light a shot with these instead of a placed
preset or HDR, for a look that matches how the room was built. One catch to know first:
The DSL deletes the set's lights on shot entry
ShotContext.__enter__ calls remove_lights() (no prefix), which wipes every light in the
scene — including the set's built-in lamps. So an indoor set renders black if you do
nothing. (Outdoor sets like apartment_complex ship 0 lights — lit by their world — so they're
unaffected.) The fix: recreate the set's lamps inside the shot, which runs after the wipe
and survives to render.
Lighting options by set type
A set's own light comes in two forms, and which you get depends on the set:
- World / sky (the
.blend's World — sky, ambient).remove_lights()doesn't touch the World, so it survives. This is what lights most outdoor sets. - Lamp objects (AREA/SPOT/POINT/SUN placed in the scene). These are wiped on shot entry, so they must be recreated (steps below). Indoor sets rely on these.
| Set | Its own light | Also available to you |
|---|---|---|
Outdoor — e.g. apartment_complex |
its world / sky (survives; ships no lamp objects) | hdr env map · a placed preset on the actor |
Indoor — e.g. living_room |
its ceiling lamps (wiped → recreate) | a placed preset on the actor |
Which to reach for
Outdoor: the world already lights the scene — call lighting("none") to use only it, add
hdr to swap in a stronger daylight sky, or a preset to shape the actor. Indoor:
recreate the set's lamps (below), optionally + a preset. HDR is not an indoor fix — it pastes
a sky image behind the windows rather than lighting the room.
Run inspect_set.py -- <set> (below) to see exactly what any set provides.
1 · Does the set have its own lights?
Run the set inspector — it loads the set the way the DSL does and prints the set's own lights as ready-to-paste dicts:
SET'S OWN LIGHTS: 5  (DSL remove_lights() deletes these -> recreate them in the shot!)
    {"type":"AREA","location":(-10.72,-5.35,8.63),"power":500,"role":"Ceiling_Main"},
    {"type":"AREA","location":(-15.25,-6.78,8.47),"power":150,"role":"Strip_A"},
    ...
SET'S OWN LIGHTS: 0 (none) means there are no built-in lights — use a placed preset or hdr
instead. (You can also just open the .blend and look for LIGHT objects.)
2 · Recreate them in the shot
Paste those dicts into a constant and re-add them with apply_lighting_setup(...) (a low-level
call from dsl.lighting, run inside the block so it lands after the wipe). Define once at the
top, reuse in every shot:
from dsl.lighting import apply_lighting_setup

# the room's own ceiling lamps — values read from set.blend via inspect_set.py
ROOM_LAMPS = [
    {"type": "AREA", "location": (-10.72, -5.35, 8.63), "power": 500, "size": 3.0, "role": "main"},
    {"type": "AREA", "location": (-15.25, -6.78, 8.47), "power": 150, "size": 1.2, "role": "strip_a"},
    {"type": "AREA", "location": (-12.46, -8.41, 8.58), "power": 90,  "size": 1.0, "role": "fill_a"},
]

with living_room.room_area.A4 as s:
    apply_lighting_setup(ROOM_LAMPS, name_prefix="Room")   # recreate the set's lamps
    s.lighting("none")                                     # don't layer a preset on top
    ...
3 · Dim, brighten & manipulate
The recreated lamps are just dicts — change them before apply_lighting_setup(...) to control
the room. The per-lamp dials:
| Field | Controls | Notes |
|---|---|---|
power |
brightness (Watts) | the main dim/bright dial — bigger = brighter |
size |
softness (AREA) | bigger = softer, more wrapped shadows |
location |
position (x, y, z) |
meters (see Set Schema) — move a lamp to relight |
type |
AREA · SPOT · POINT · SUN |
AREA = soft room light |
role |
the light's object-name label | — |
Brighten or dim the whole room — scale every lamp's power by one factor:
def scaled(lamps, factor):
    return [{**L, "power": L["power"] * factor} for L in lamps]

apply_lighting_setup(scaled(ROOM_LAMPS, 0.6), name_prefix="Room")   # ×0.6 → dimmer, moodier (dusk)
apply_lighting_setup(scaled(ROOM_LAMPS, 1.6), name_prefix="Room")   # ×1.6 → brighter, daytime
Dim or boost one lamp — edit that dict's power (e.g. soften the main ceiling pool):
Soften the shadows — raise size on an AREA lamp; darken a corner — drop a lamp from the
list; add light — append a new dict:
ROOM_LAMPS[0]["size"] = 5.0                                   # very soft key
ROOM_LAMPS = [L for L in ROOM_LAMPS if L["role"] != "fill_a"]  # kill one lamp
ROOM_LAMPS.append({"type": "SPOT", "location": (-9, -5, 7),    # add a practical
                   "power": 300, "role": "lamp_glow"})
What a lamp dict does not control
Colour / temperature isn't a dict field — the builder sets energy, size, and shape only. Keep
warm/cool to the set's own lamps as authored, or push it in the edit with a look
(warm / cold, see Editing).
4 · Combine the room light with a modelling key
The gallery pattern for indoor scenes: the room lamps for ambience plus a low-power preset to shape the subject's face. Because the room is already lit, the preset key is much lower than its defaults (≈ 55 vs 350):
def light(s, key=55, rim=28, back=22):
    apply_lighting_setup(ROOM_LAMPS, name_prefix="Room")                      # room ambience
    s.lighting("three_point", key_power=key, rim_power=rim, back_power=back)  # gentle modelling key

with living_room.room_area.A4 as s:
    light(s)              # bright, even room with a soft key
    # light(s, key=80, rim=20, back=10)   # punchier key, dimmer fill → more contrast
    ...
Engine
Set lamps — like every placed light — only show under eevee or cycles; workbench
ignores them. Indoor rooms look best in cycles.
Parameter reference & tuning
How the lighting dials actually behave, and how to shape mood with them.
How placed lights are positioned
Every preset light sits relative to the subject and rotates with the subject's facing
(a "front-left key" stays front-left however the actor turns), all offsets scale with the
set's actor_scale, and each light aims at ≈ 0.8 × subject height (upper chest / face).
Placed lights only render under eevee / cycles.
Placed-light power (Watts)
| Dial | Presets that take it | DSL default | Role |
|---|---|---|---|
key_power |
rembrandt · three_point · butterfly · split | 350 · 400 · 350 · 250 | Key — the main shaping light (front-left, raised). Sets the exposure. |
rim_power |
rembrandt · three_point | 120 · 150 | Rim — opposite side, lower power; adds an edge and lifts the shadow. |
back_power |
three_point | 100 | Back — behind the subject; separates them from the background. |
power |
silhouette · spotlight | 300 · 500 | The preset's single / paired source. |
Two levers:
- Brightness — scale all powers together (× 1.3–1.5 brighter) to change exposure without changing mood.
- Contrast / mood — the key : rim ratio. Wide ratio (e.g.
key=400, rim=80) → dramatic chiaroscuro; near-equal (350 : 280) → soft, even, flattering.
(Exact Watts depend on engine, subject distance/scale, and whether HDR is also lighting the scene — tune by eye in eevee, confirm in cycles.)
HDR (daylight) dials
| Dial | Default | What it does |
|---|---|---|
hdr |
first .exr |
Which env map — a name without extension (looked up in assets/env_lights/) or an absolute path. |
strength |
1.0 |
World brightness multiplier — <1 dusk, >1 bright noon (≈ 0.8–1.5 typical). |
rotation |
0 |
Yaw the HDRI (degrees) → aim the sun / shadow direction. Rotate until the environment's key falls where you want and shadows fall away from camera. |
Daylight and a shaped face (the gallery look)
shot.lighting() records one rig, so HDR-plus-a-key is a two-call pattern: set the world
directly with apply_hdr_lighting(hdr=…, strength=…, rotation_z_deg=…) (import from
dsl.lighting) and add a placed preset via shot.lighting("three_point" / "rembrandt", …).
The HDR lights the whole scene; the preset puts controlled modelling back on the face — how the
bright exterior scenes keep a lit, dimensional subject.
Combining these into complete looks: see Production-Quality Tuning.
Lower-level primitives & the Cycles comparison
Under shot.lighting() are the light-rig builder functions in dsl/lighting.py:
rembrandt(), three_point(), spotlight(), split_lighting(), butterfly(), silhouette() —
each returns the list of lights to place relative to the subject, applied via
apply_lighting_setup() (after remove_lights()).
The repo's render_lighting_compare.py calls these six builders directly and renders each one as a
full-resolution (1280×720) Cycles frame at 32 samples — the high-quality reference for how a
preset shades a face.
| Script | What it renders | Output |
|---|---|---|
render_lighting_compare.py |
the 6 placed presets, Cycles @ 32 samples, 1280×720, one frame each | renders/lighting_compare/<preset>.png |
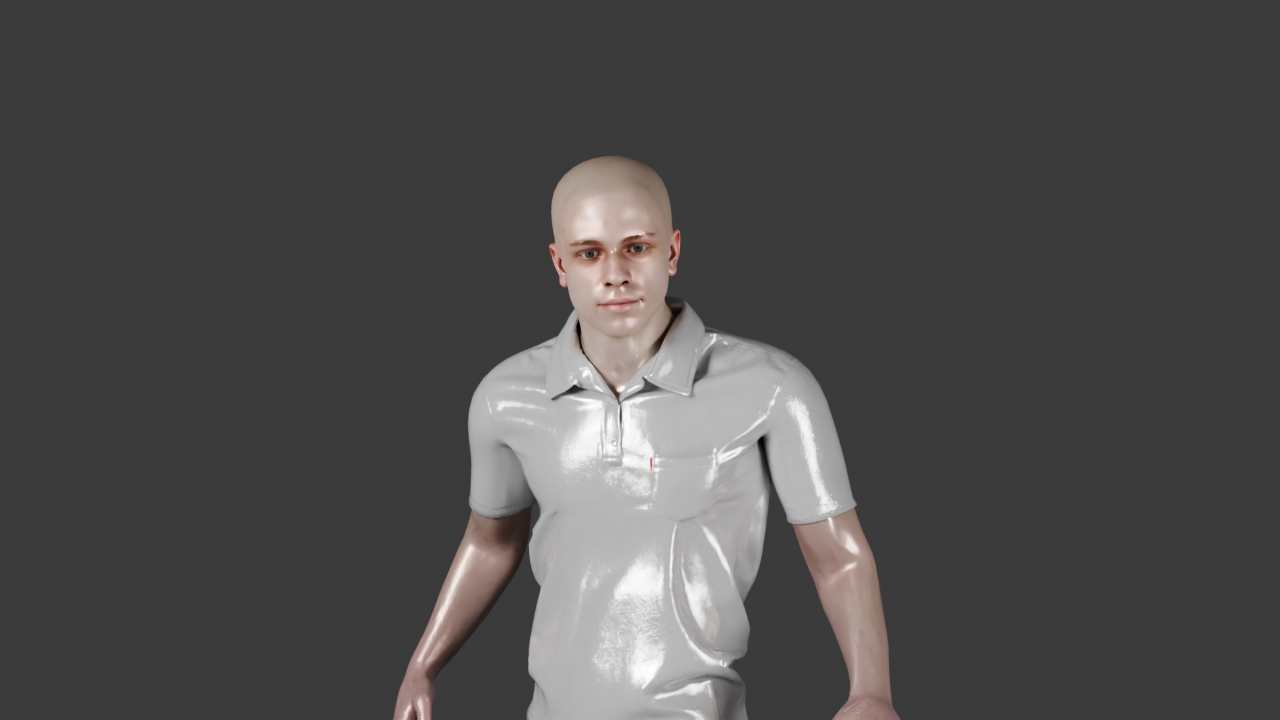
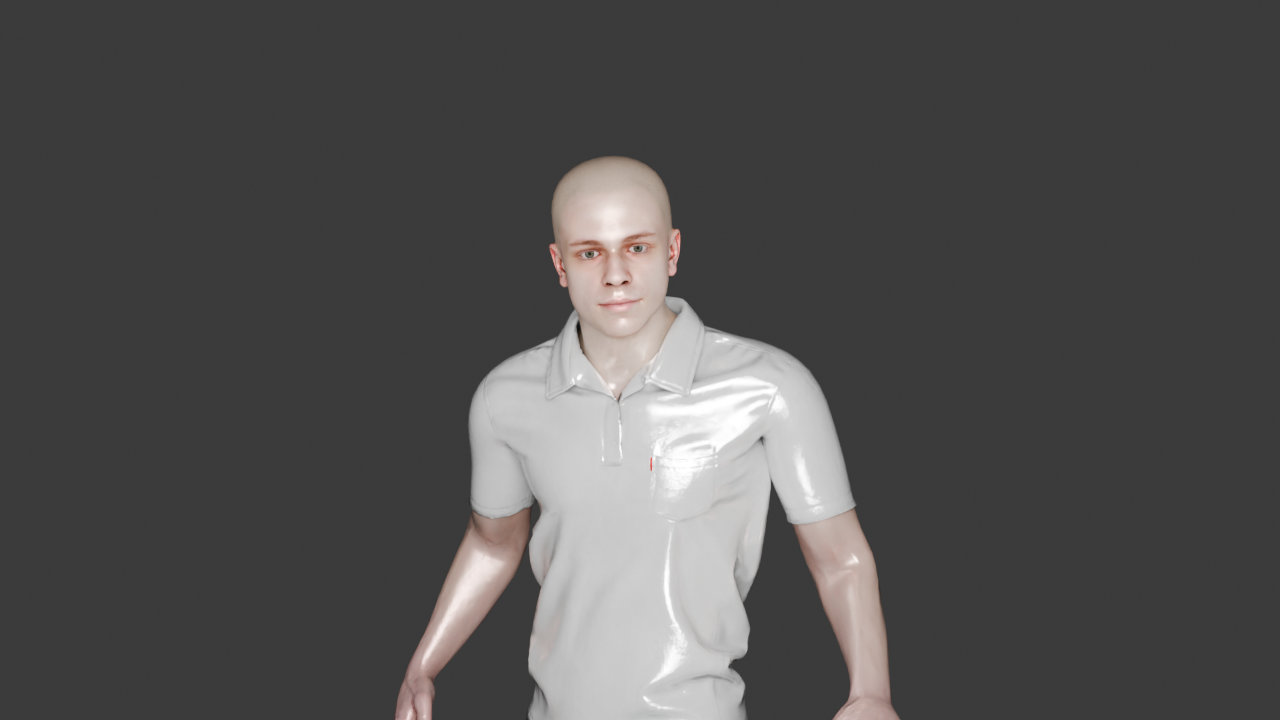
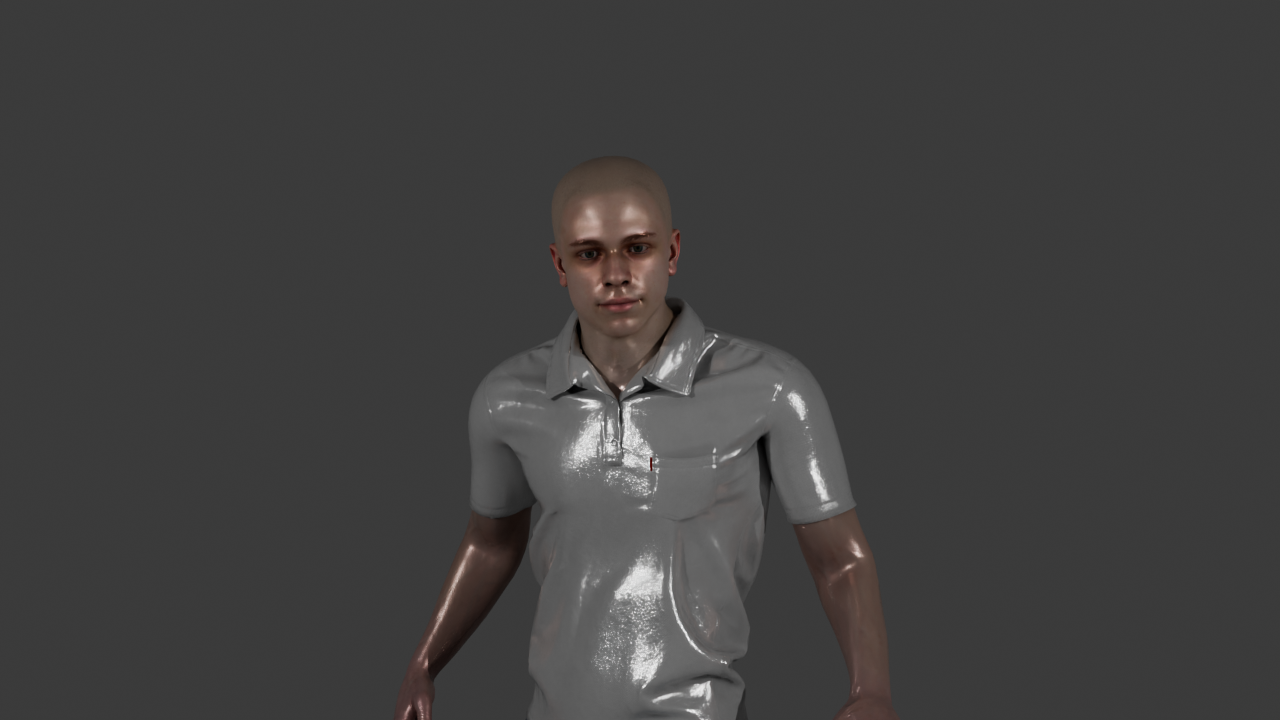
Each builder, full-resolution in Cycles
The six light-rig builder functions, each rendered by render_lighting_compare.py.
Click any row to expand the Cycles frame.
rembrandt() — key front-left + rim front-right (the classic portrait)
three_point() — key + rim + back (even, dimensional)
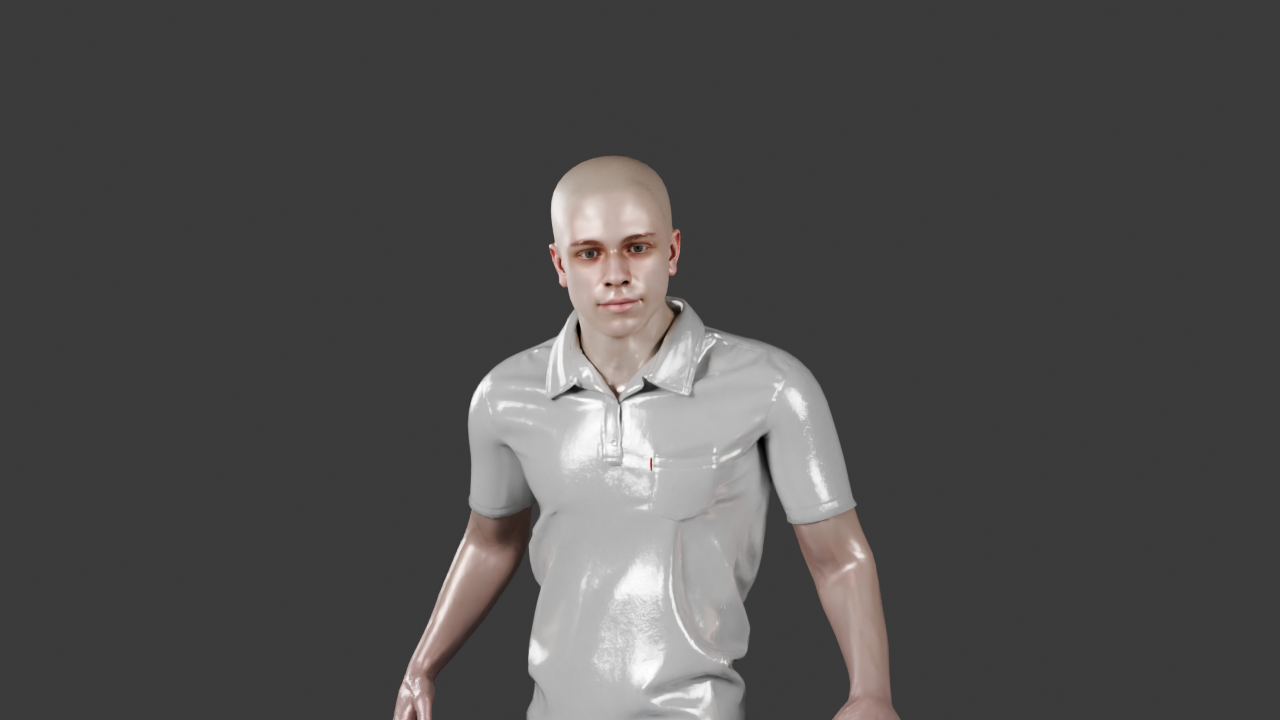
butterfly() — a single key front-above-centre (glamour)
split_lighting() — a single hard key from the side (half-lit face)
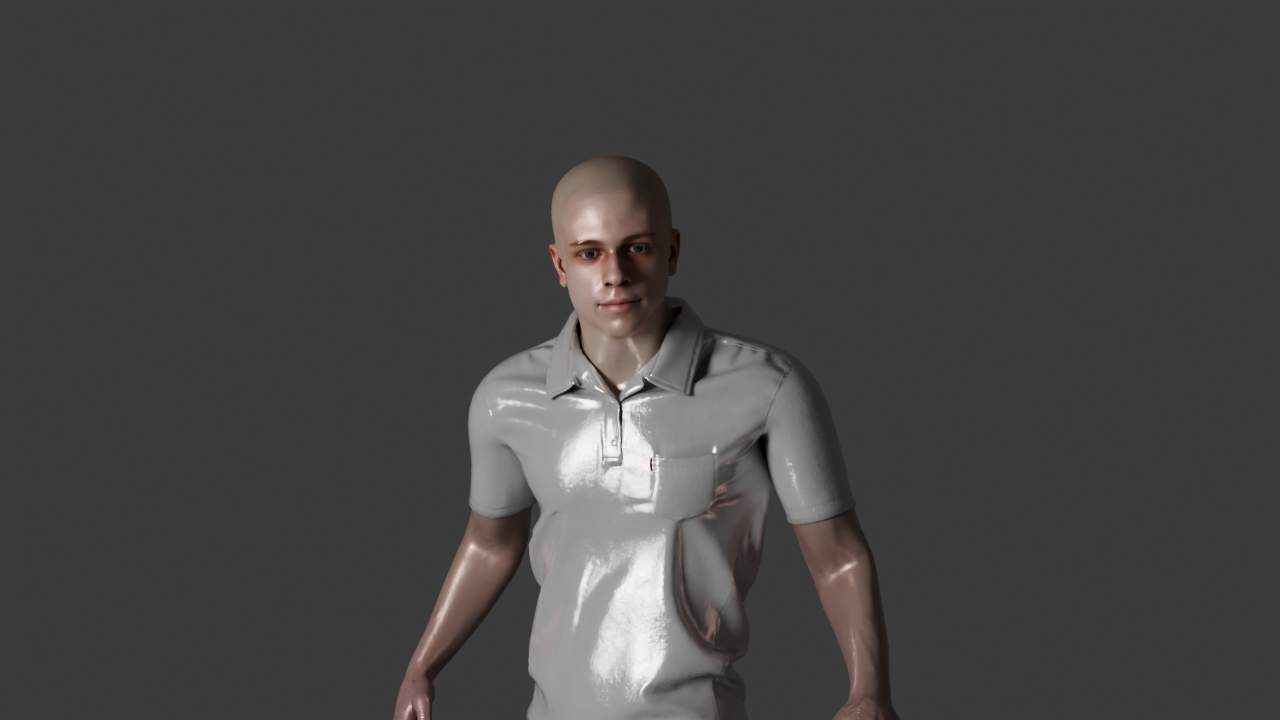
spotlight() — a single spot from directly above
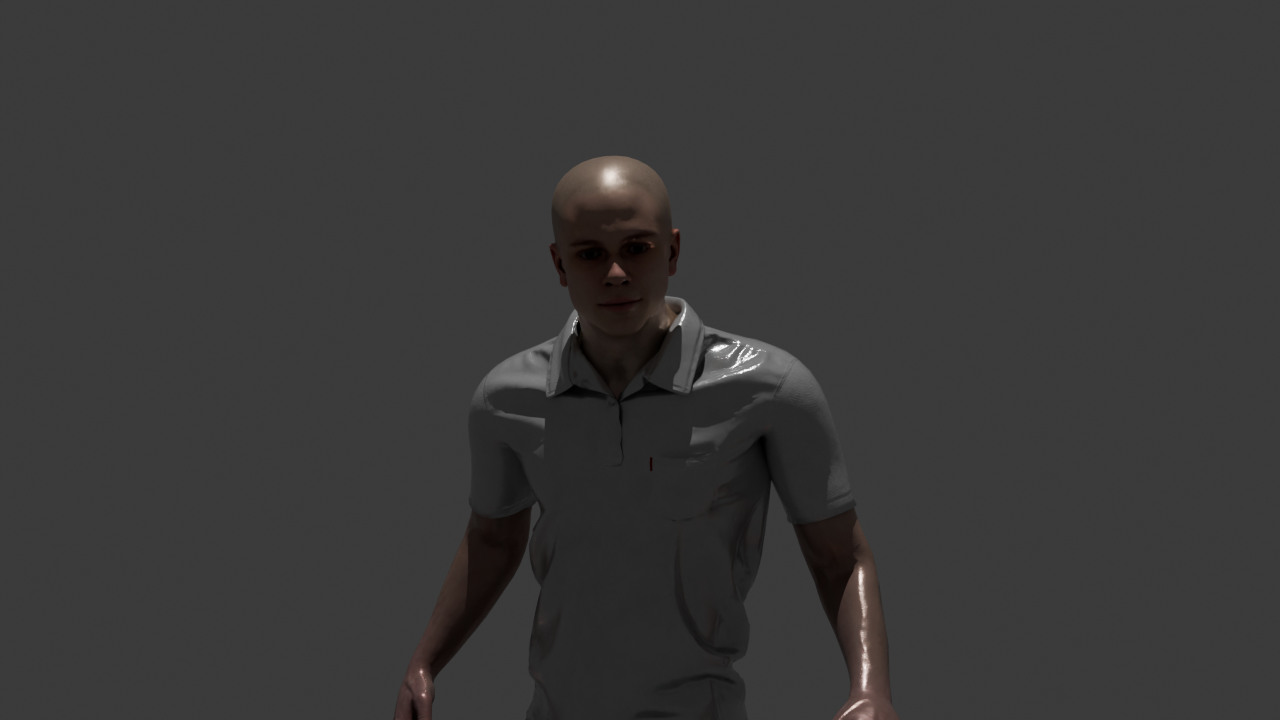
silhouette() — two back-rim spots, dark front
Even under Cycles the front stays partly lit — a property of the preset, not the engine.
Two layers
These builders are the low-level layer (full-res Cycles, called directly); shot.lighting()
above is the public layer scenes use. Full catalogue:
Testing → Existing tests.